Victor told me that talking about liquid levels was boring.
Well, Victor was wrong.
Items
Items are things like ore, water, metal, biomass, and fuel.
Items can be stored on objects, like shelves.
Items can be converted into other items, like when the ore refinery pulverizes ore and creates metal.
Items can be carried and transported from one object to another (taking ore from a shelf to a refinery)
Displaying Items
Most items are displayed as crates. Crates are what colonists carry when they transport items. They’re also how items are typically displayed in the world.
Here’s a really up-scaled example of a few crates. From left to right it’s: fuel, ore, biomass, potato, and fish.
These crates are then placed and positioned appropriately on each object.
Here’s a shelf with a colorful assortment of crates:
How It Works
I don’t want to describe how we position crates in great detail, but the quick version is something like:
Item is deposited in object
Item is visually merged with existing crates
If required, a new crate is created
New crate is positioned correctly
It’s a bit more complicated in practice. Most objects have different areas that they display crates. For example, an Ore Refinery displays ore in an “input area” and it displays metal in an “output area”. So there’s an extra step when we want to figure out where to position a new crate.
In this screenshot you can see that the ore crate is to the left (on the input belt), and the metal crate is to the right (on the output slot)
Internally, we have a class named “CrateDisplayTransform”, it’s used for Displaying Crates on Transforms (transforms are what Unity calls the component that handles positioning, scale, and rotation). We can specify the local scale of each crate, the item types to use, and a constant position offset, if we need to.
We can also set the priority of where to display each item. This is used when a crate can be displayed in multiple locations. The shelf uses this so that items are always placed on the bottom before the top (the bottom has a higher priority).
Crates also have a maximum amount of items that they can store. This allows us to consolidate small amounts of the same item type together into a single crate. Right now most crates can hold 100 items. Some crates, like food dishes and body bags, can only hold a single item.
But What About Fluids!
Ok, the crate display system works fine for most objects, but some objects are special. They can visually store items, but not as crates.
The two most obvious examples are the Water Recycler and Water Storage Tank.
Special little snowflakes
The Water Recyler converts Dirty Water (from toilets, crop irrigation, whatever) into tasty Clean Water. Clean water is conveniently stored in Water Storage Tanks until it’s ready for use.
Ok, so we want to display an item, but not as a crate. The basics are almost the same:
Item is deposited into object
Item is visually merged
If required, a new crate is created
New crate is positioned correctly
Only this time, we’re not using a crate, so we can skip steps 2 and 3. We still need to position something, though. The new sequence of events might be:
Water is deposited into object
Water level is positioned correctly
Water Levels
So that’s simple enough. We just need to position a water line based on how much water is in a container.
More abstractly, we need to position an object based on how much item is in a container.
Here’s the code that implements it:
// Assume that these are defined somewhere
float minPosition = 2;
float maxPosition = 13;
float maxItemsToDisplay = 100;


void OnItemDeposited(Item item)
{
    if(item.itemType != itemTypeThatWeCareAbout)
        return;

    float ratio = item.amount / maxItemsToDisplay;

    float newPosition = Mathf.Lerp(minPosition, maxPosition, ratio);
    waterLevel.SetPosition(newPosition);
}
It’s a bit more complicated, because we allow for multiple item types to be displayed together, so we have to get a sum of all the counts. We also change the liquid level slowly instead of instantly.
But the above code is basically how it works.
Lerp
You may not know what Lerp is.
Lerp (Linearly intERPolate) is a function that takes three arguments:
Starting Value
Ending Value
Percentage
Lerp returns a value that is somewhere between starting and ending, based on the percentage that you pass. If you pass a percentage of 1.0 (100%) it will return the ending value. If you pass a percentage of .5 it will return a value that is halfway between starting value and ending value.
Lerping is useful for when you have a min and max value and you want to return a value that is somewhere between the two.
In our case, we had a liquid position when empty and a liquid position when the container was completely full.
Visual Demonstration
Here’s a gif of it in action. We use a separate GameObject for the liquid level:
(You can see that a teeny little bit of the clean water level object is peeking out of the Clean Water Tank, but it’s been fixed since this gif was recorded)
Other Uses
The “LiquidLevelComponent” is flexible enough that we can use it for all sorts of things.
The Nutrition Brick Creator has a very similar liquid level, only it cares about Biomass instead of water.
It might not seem all that interesting, but we’re able to use the exact same components on 2 almost unrelated objects, and nothing breaks:
(You can’t tell, but behind the scenes I’m adding biomass to both of the nutrition brick creators)
Behind the Scenes
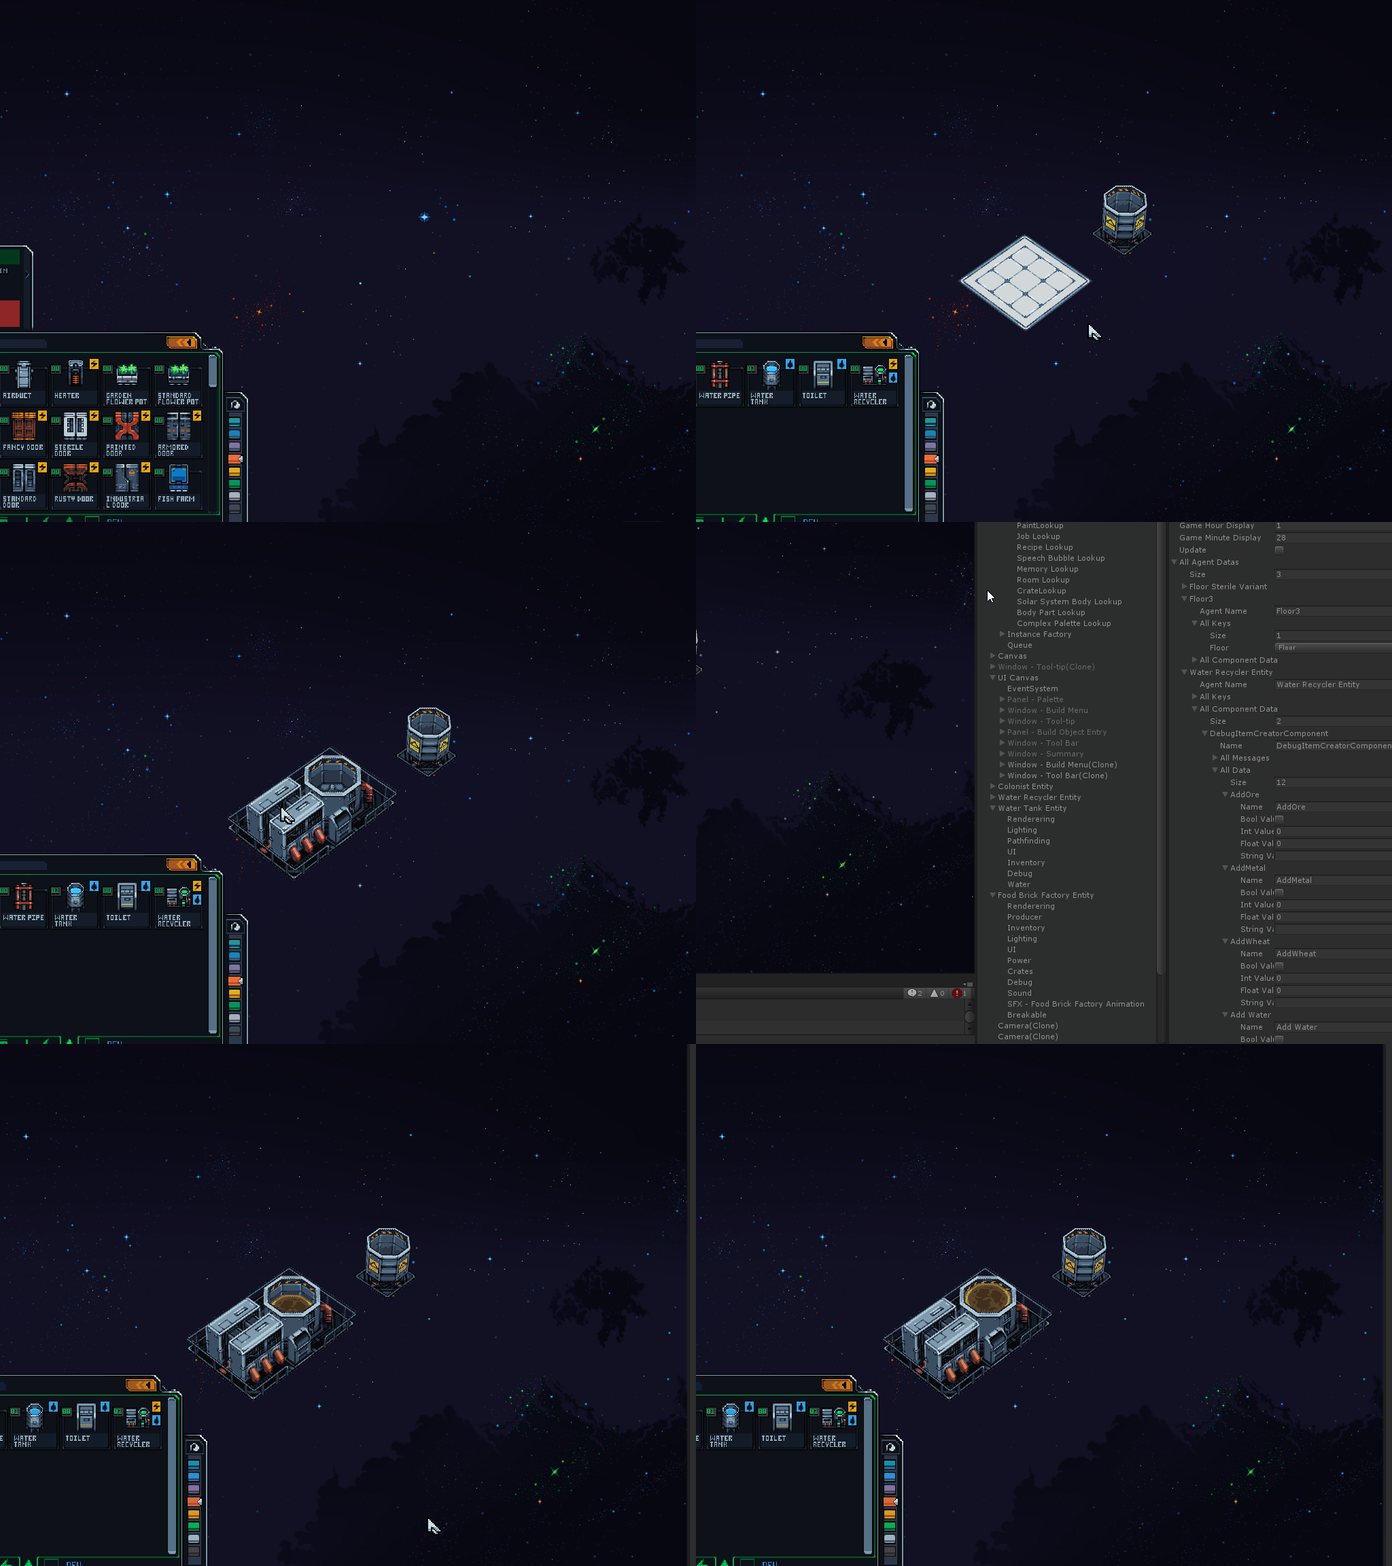
It might look like I’m faking these gifs or something. I’m not. I just placed all of the objects on top of floors with no other floors present, so that you get to see a cool space background. And so that you don’t have to be distracted with other objects in the images.
Then, I force added the appropriate item to the objects.
Here’s a gif of me making the gifs
Very Interesting
So that’s liquid levels in containers.
Victor said it couldn’t be interesting. Victor didn’t believe in me.
I know all of you found this interesting, so go to the Discord and say “Thanks Victor”.
- Tyler


